
Modelling Guide
Pose
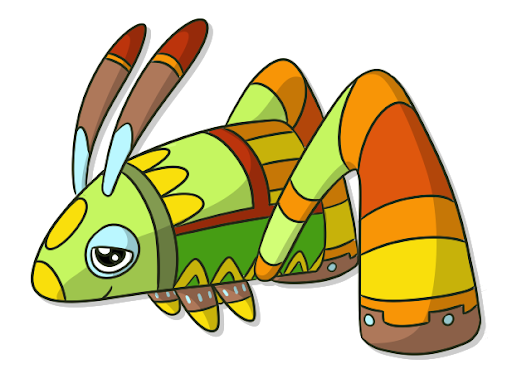
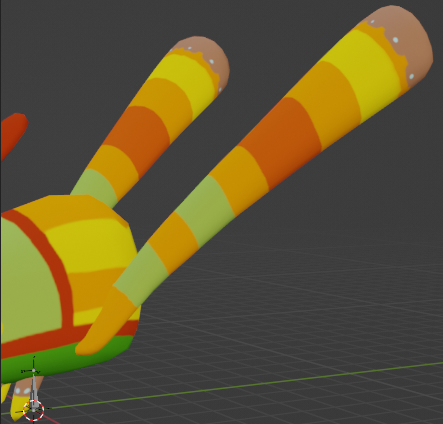
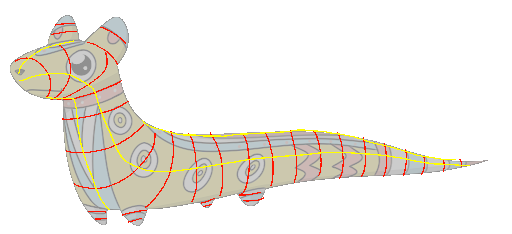
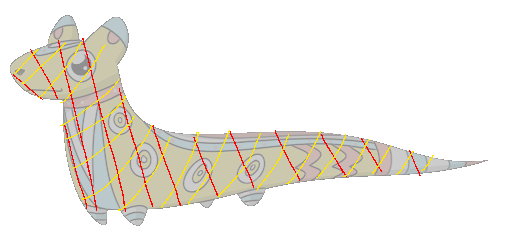
The piñata must be modelled in the most neutral pose possible. This is to ensure that the mesh deforms properly when we come to rigging and animating it. This means a straight spine, straight legs, a straight tail, straight ears, etc. Please ask if you are unsure.
Topology
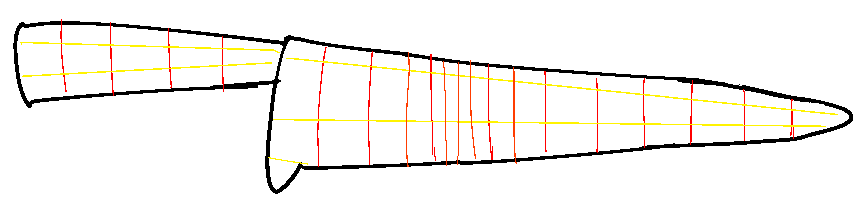
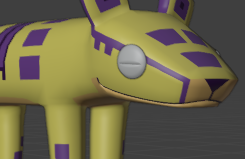
For piñatas the topology also needs to animate well, as you can see in the above image of the slug, the edge loops of the piñata need to oriented perpendicularly to the direction the model is expected to flex. You can also see that at the points that are expected to deform the most there is extra geometry to help facilitate it.


Adding Eyes
Important Points
- Eyes are hemispheres not hemi-roundcubes
- One must ensure the that the origin of the eyeball remains at the exact centre of the sphere at all times
- With the exception of sours, eyes are added in engine, however they act as an important reference throughout the procress of creating a game ready piñata
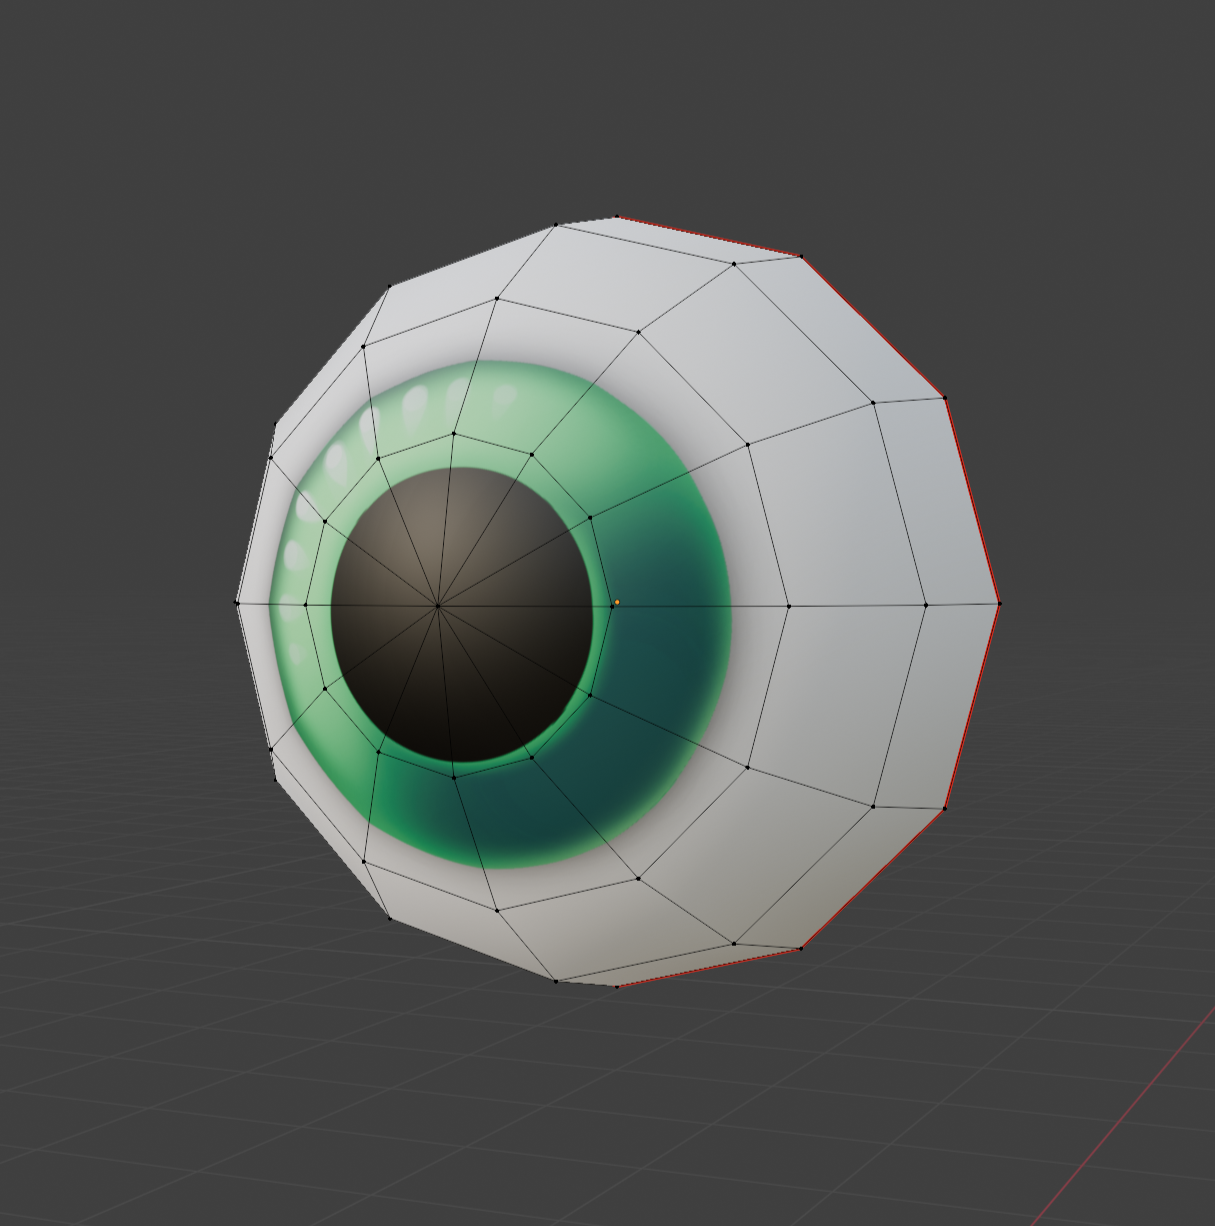
How to Make an Eyeball
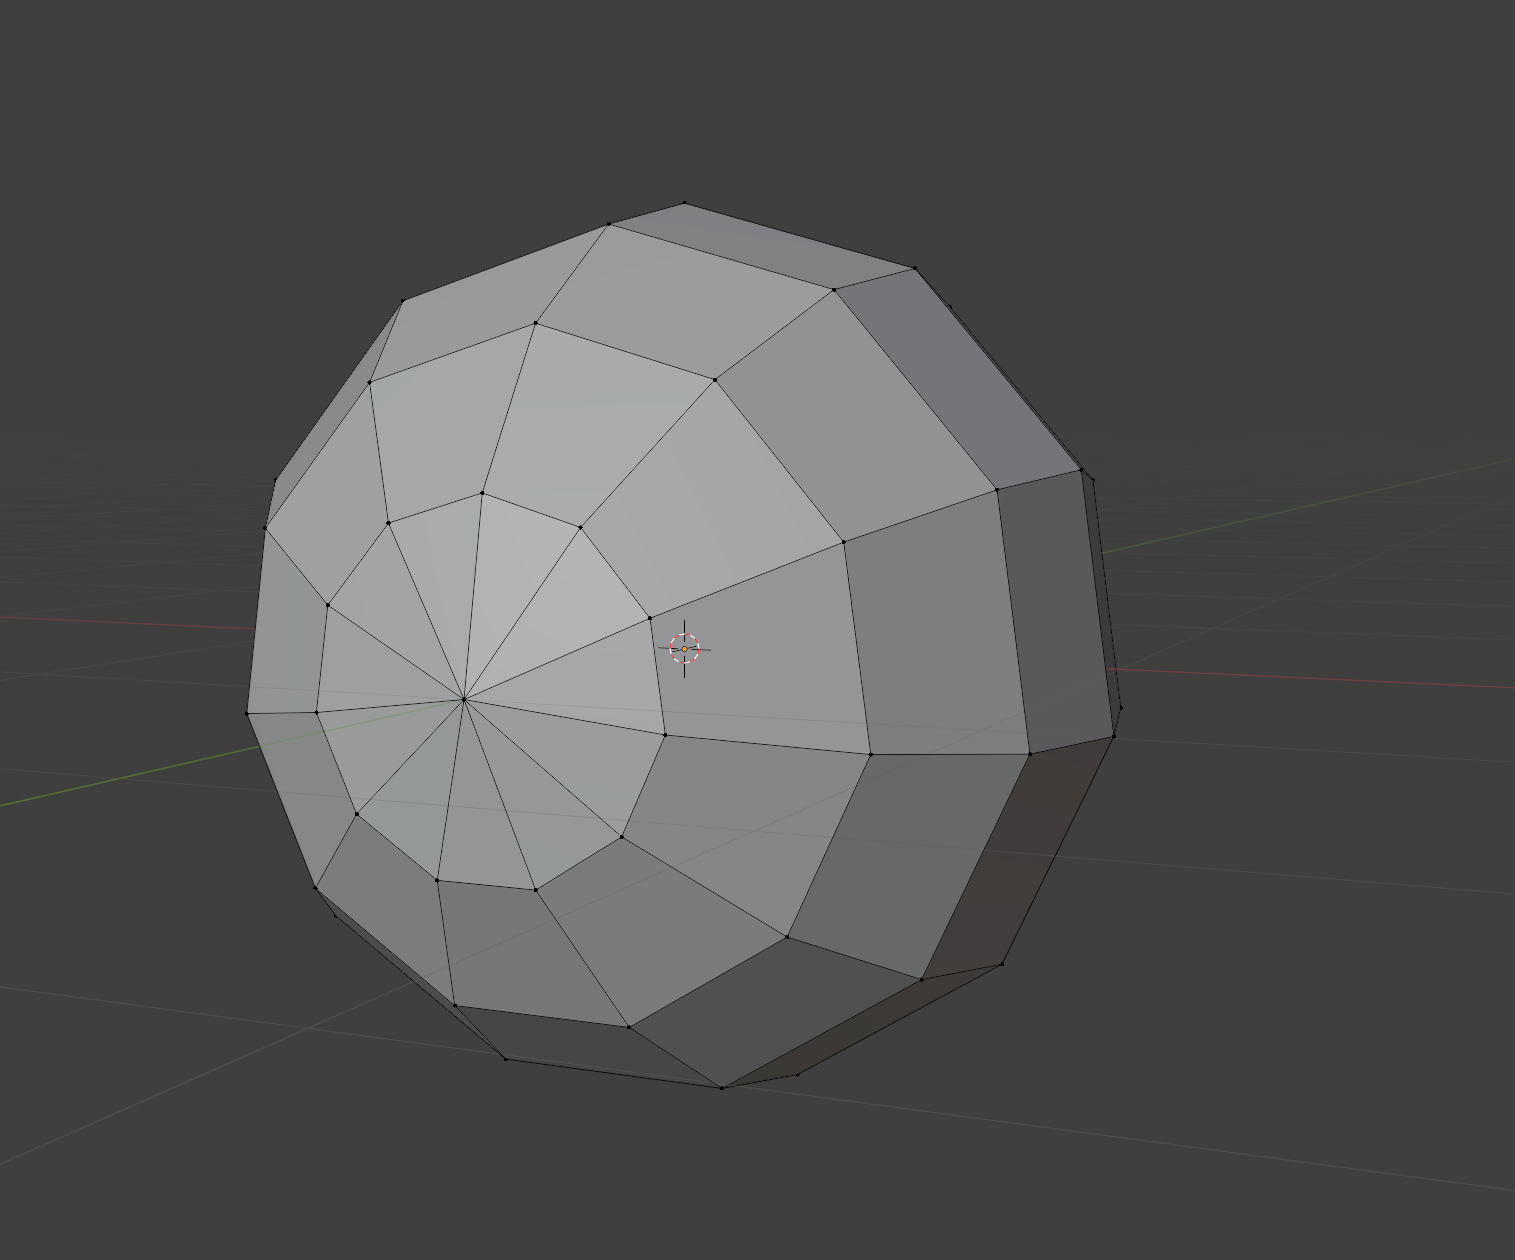
1 - Add a UV sphere, you can fiddle around the number of segments and rings it has, you can often get away with less than you think.
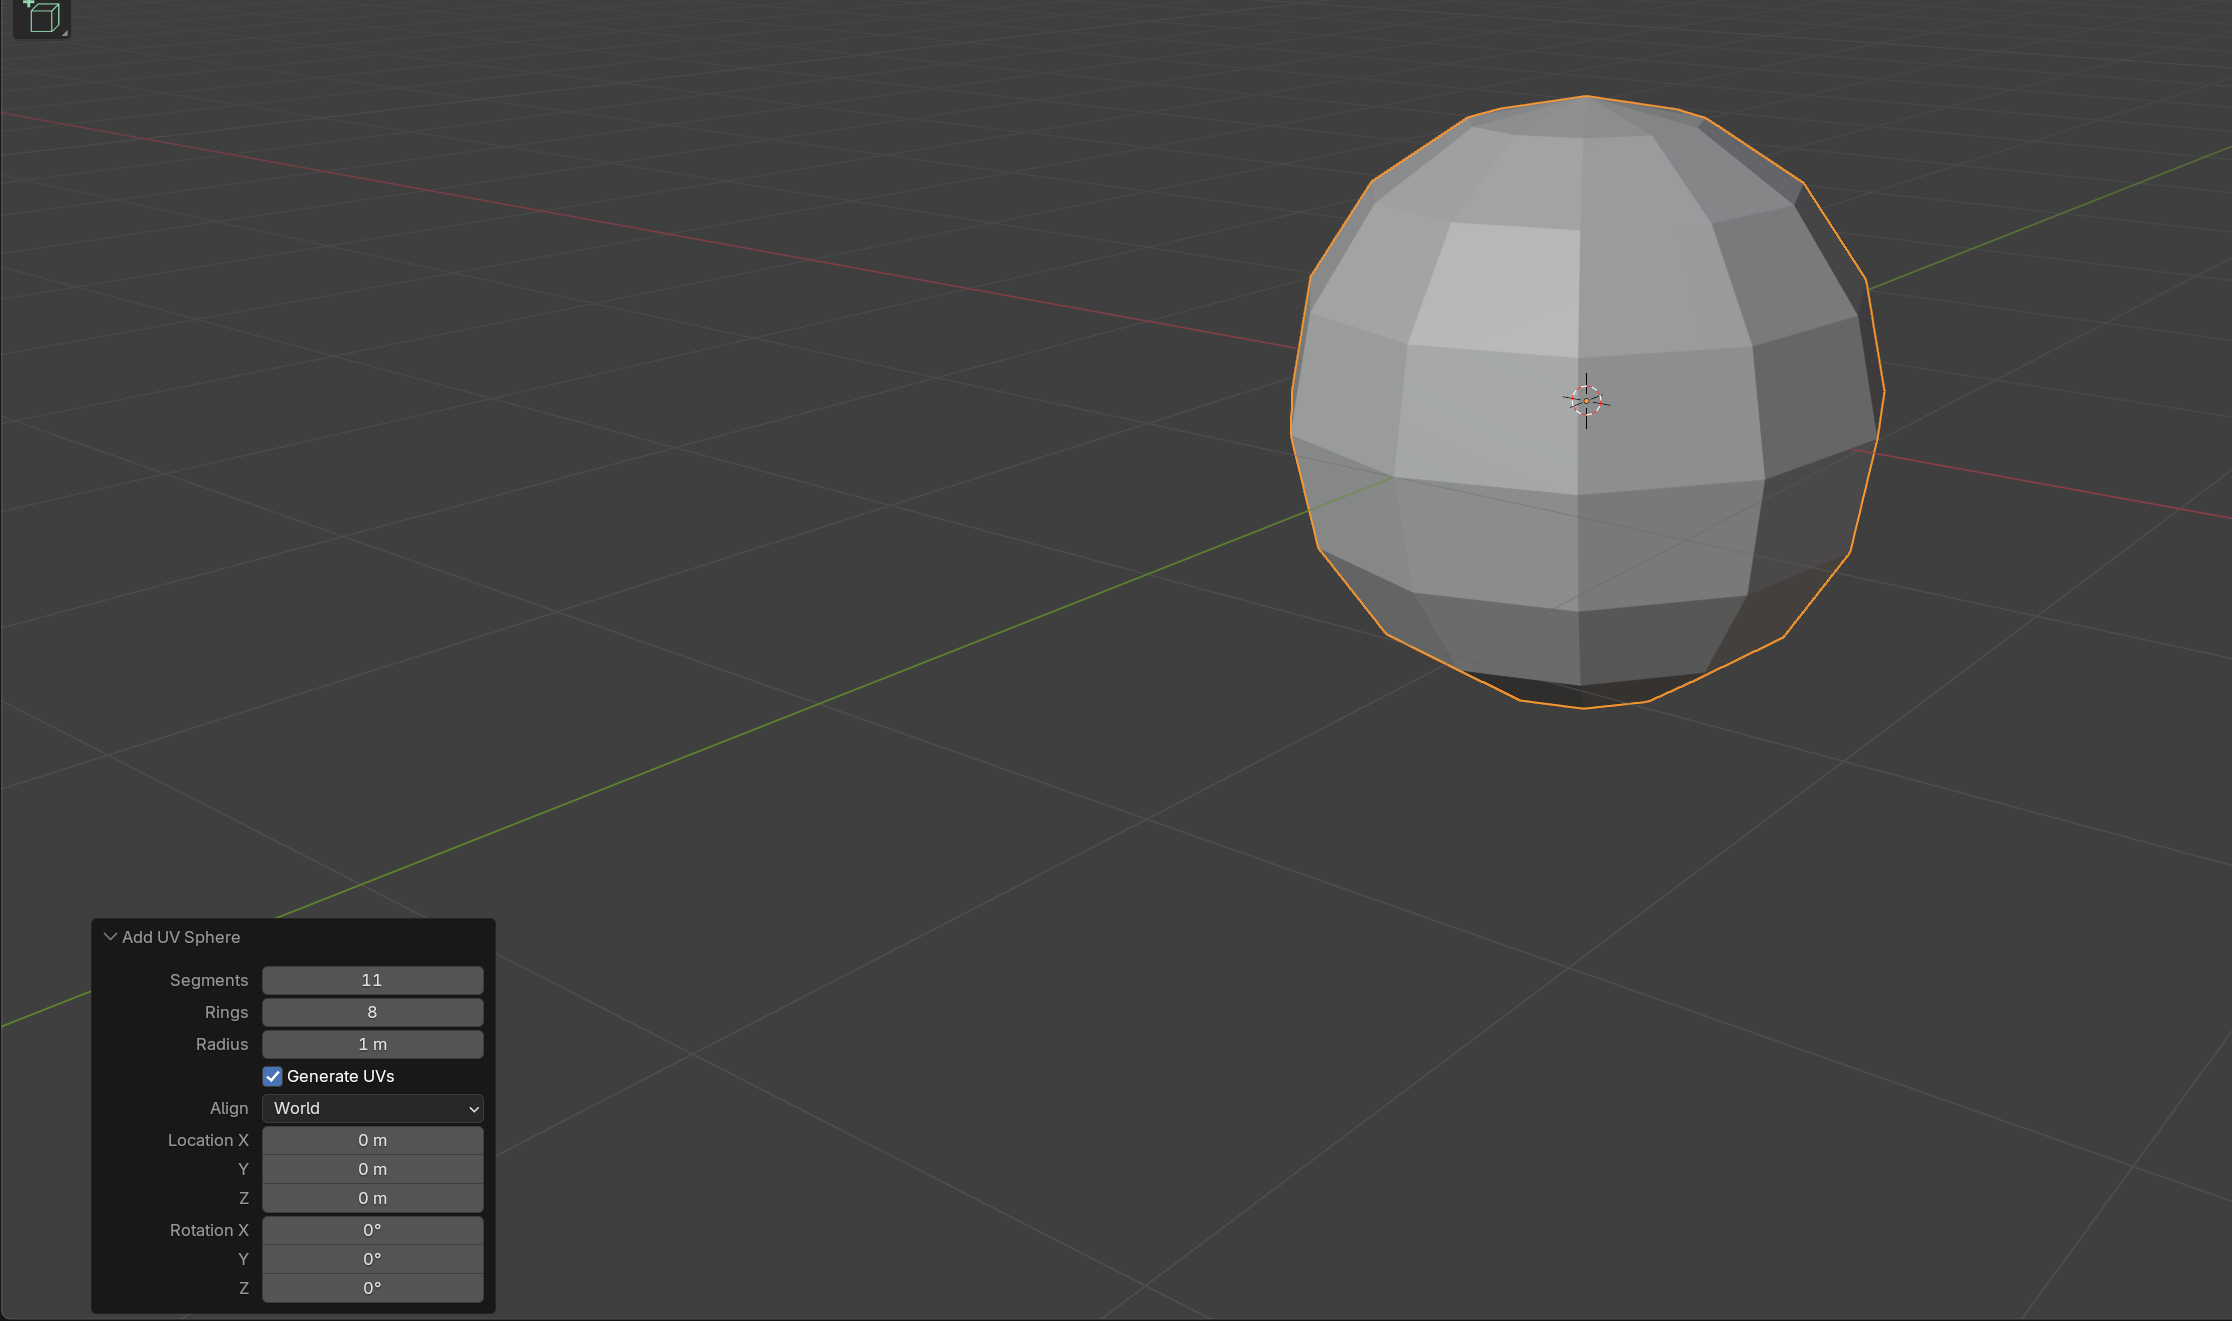
2 - Rotate it 90 degrees so the pole of the UV sphere it facing where the iris would be
3 - You can now texture this (for sweet piñatas the eyeball should be a separate UV unwrap, for sour piñatas I need clarification) and delete some of the back faces of the eye that are not needed
Wildcards (If Applicable)
There are two types of wildcards, ones that add a new part where there was nothing before, and wildcards that replace an existing part with another part. We will discuss both in this guide.
Wildcards That Add a New Part
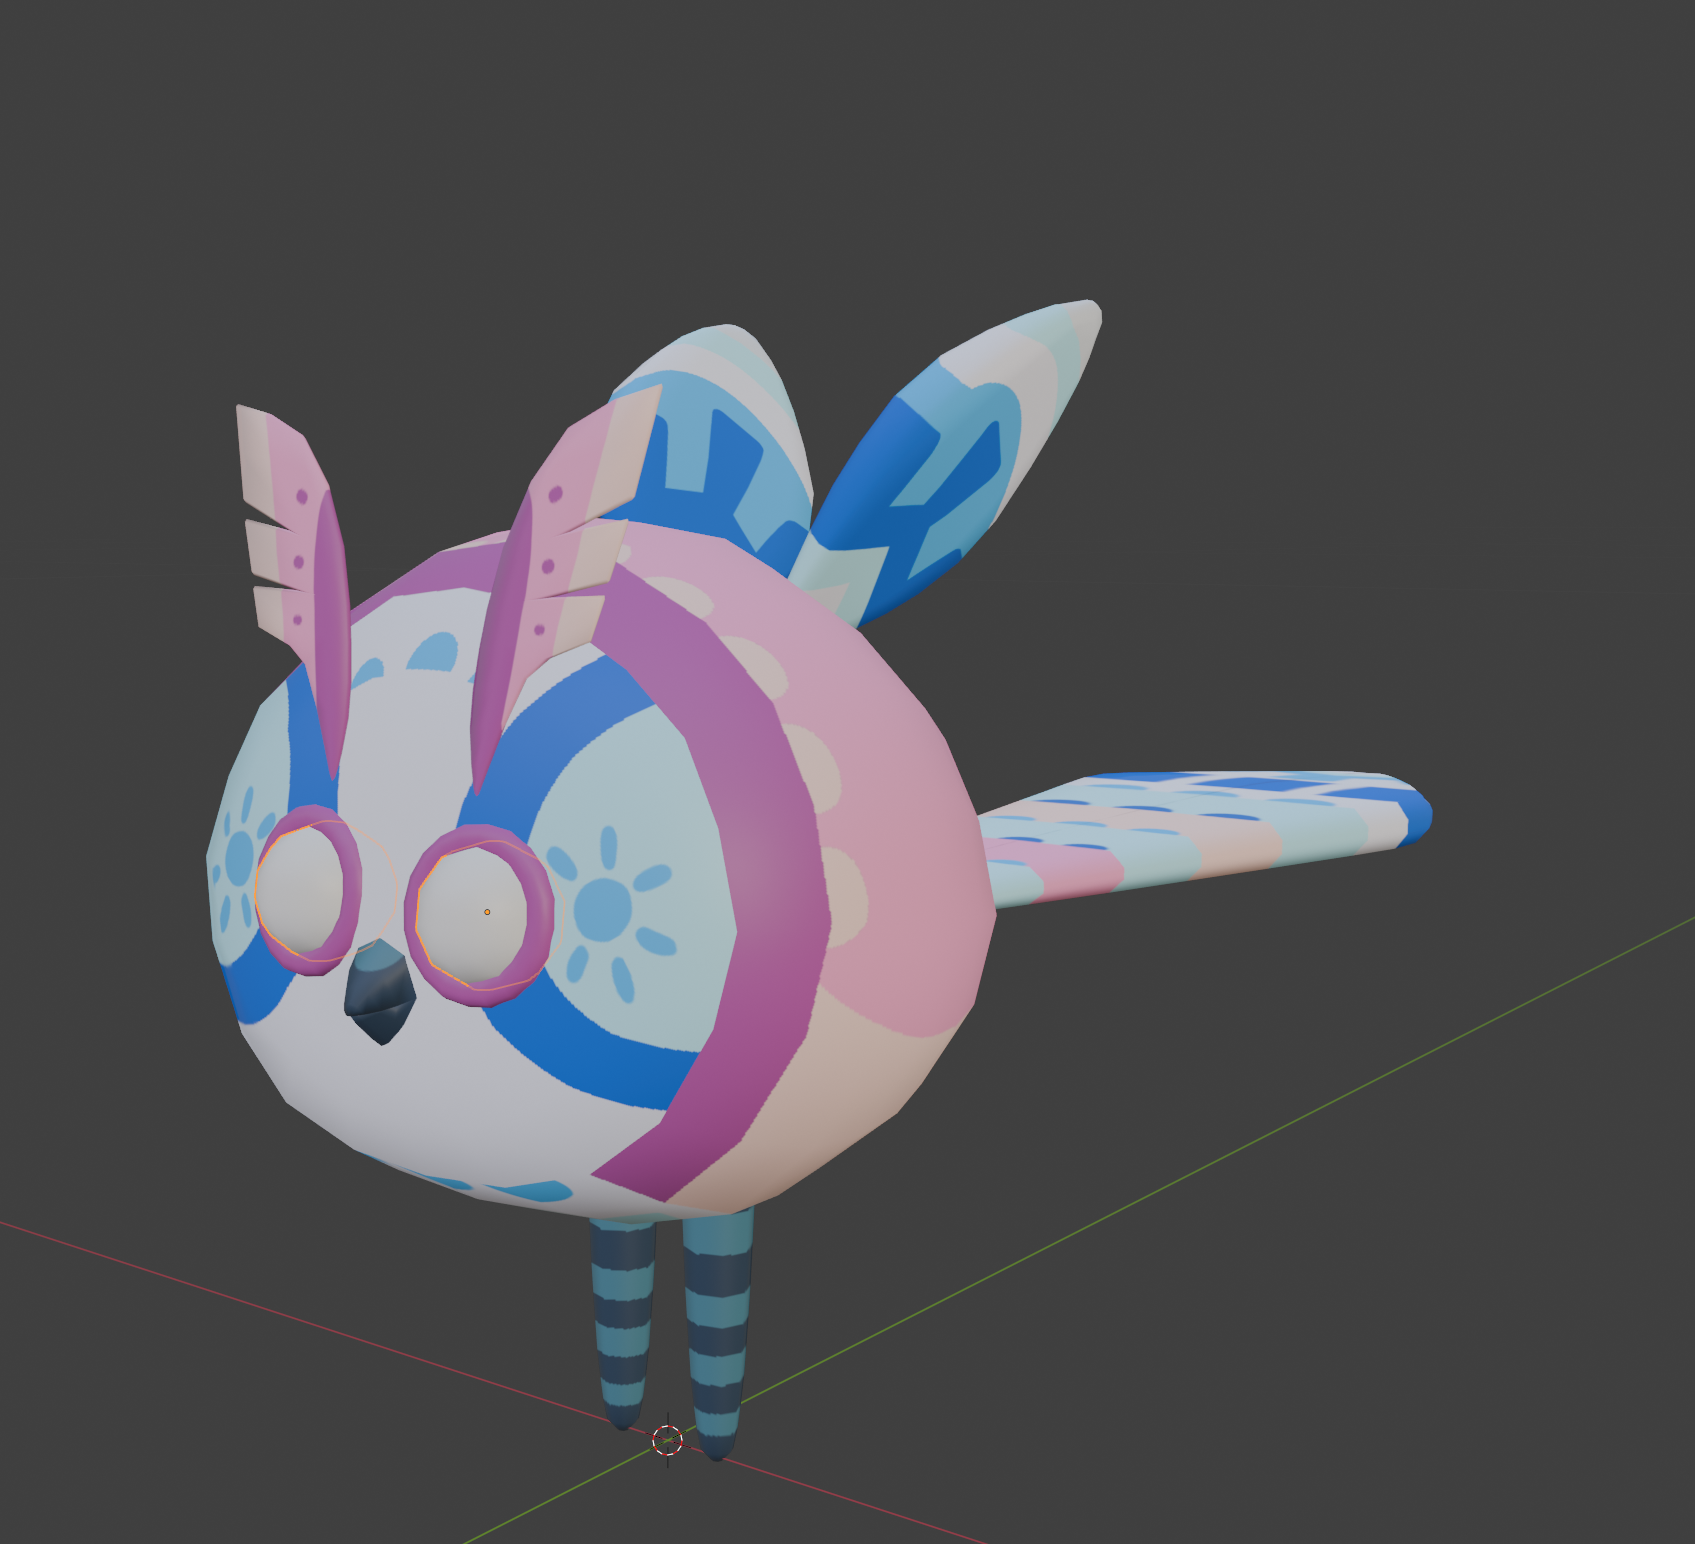
For wildcards that add a new part where there was nothing previously, you model the wildcard part as a separate mesh. You can see an example of this type of wildcard on the images of the Chirpix below, where on the left we see the model without the wildcard mesh being visible, then on the right hand side we see the Chirpix along with the wildcard eyebrows being visible.

Wildcards That Replace an Existing Part
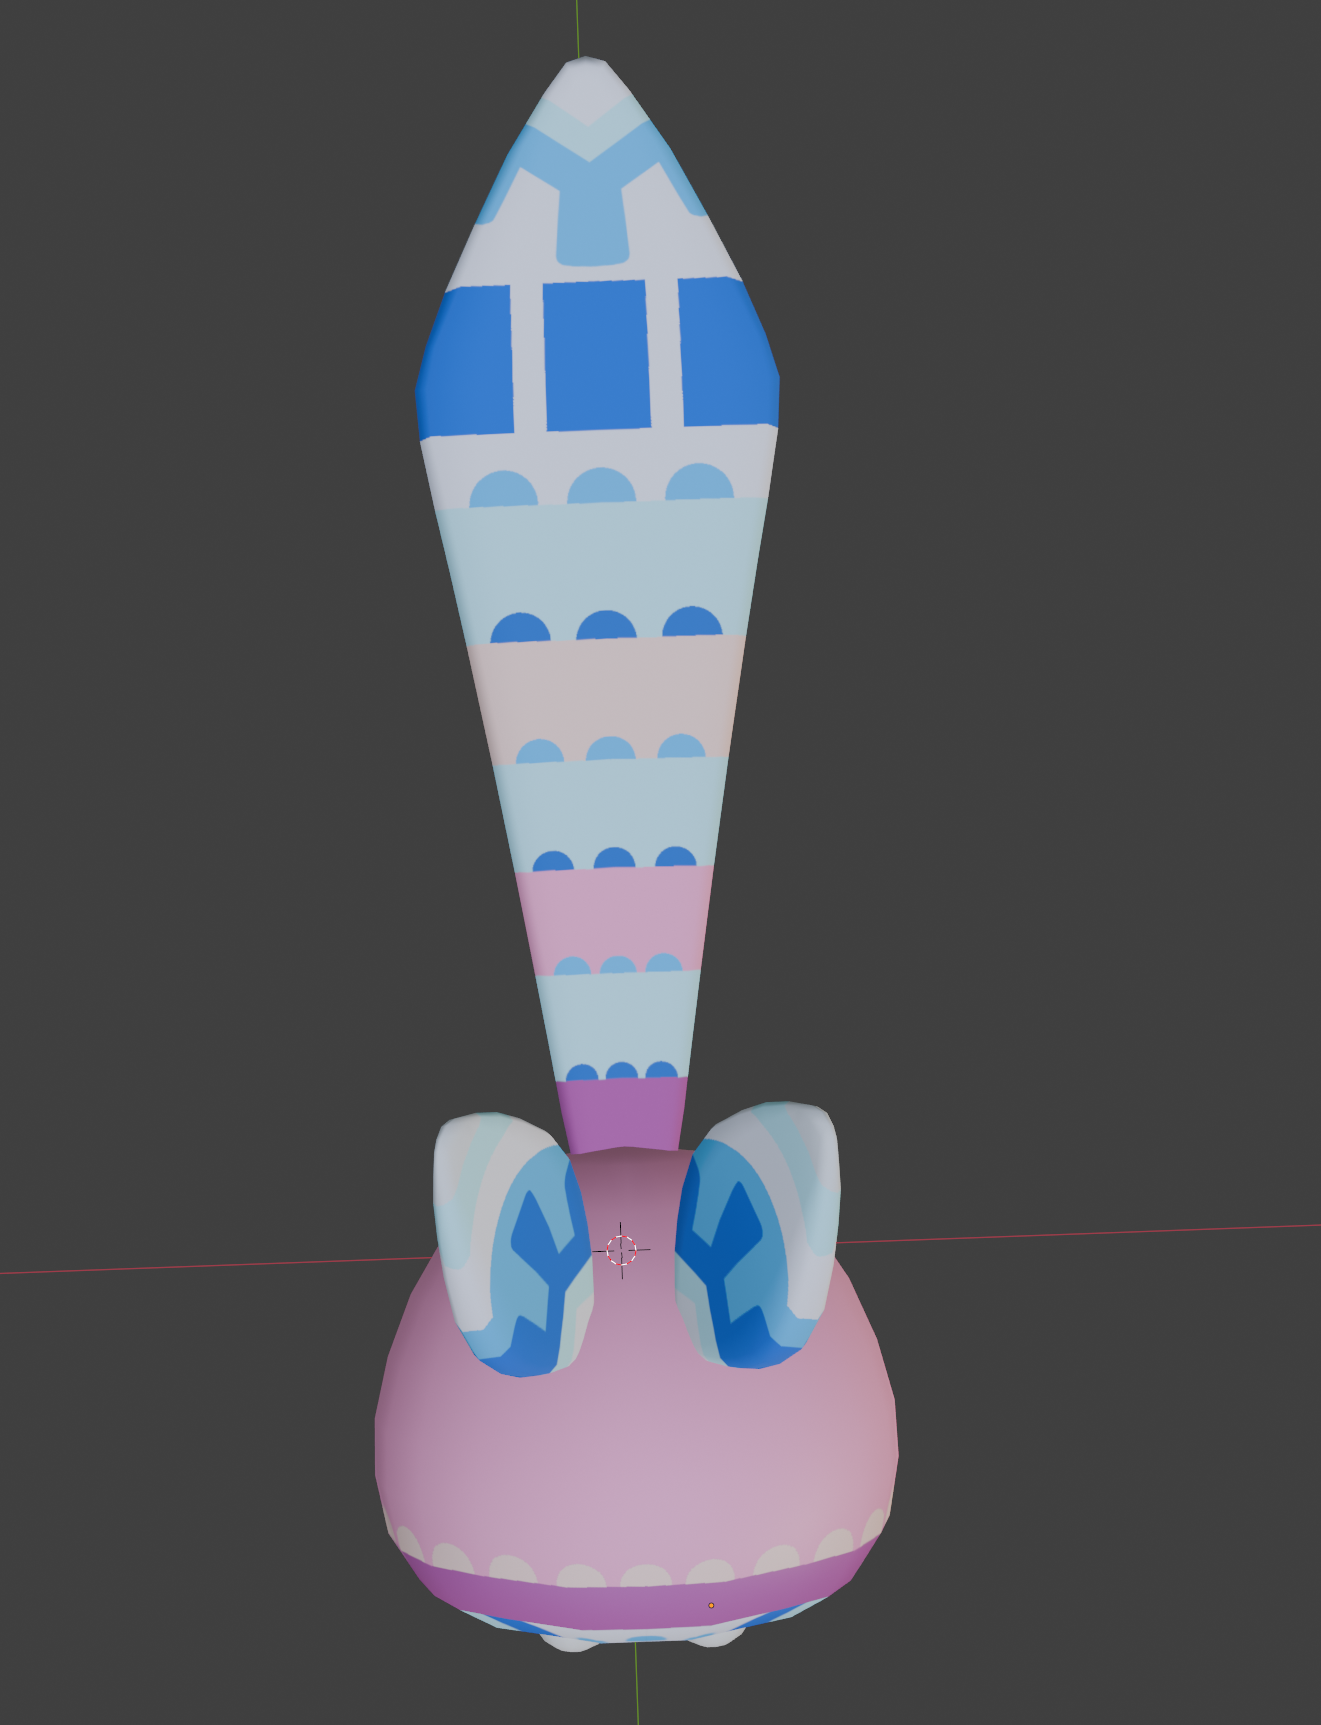
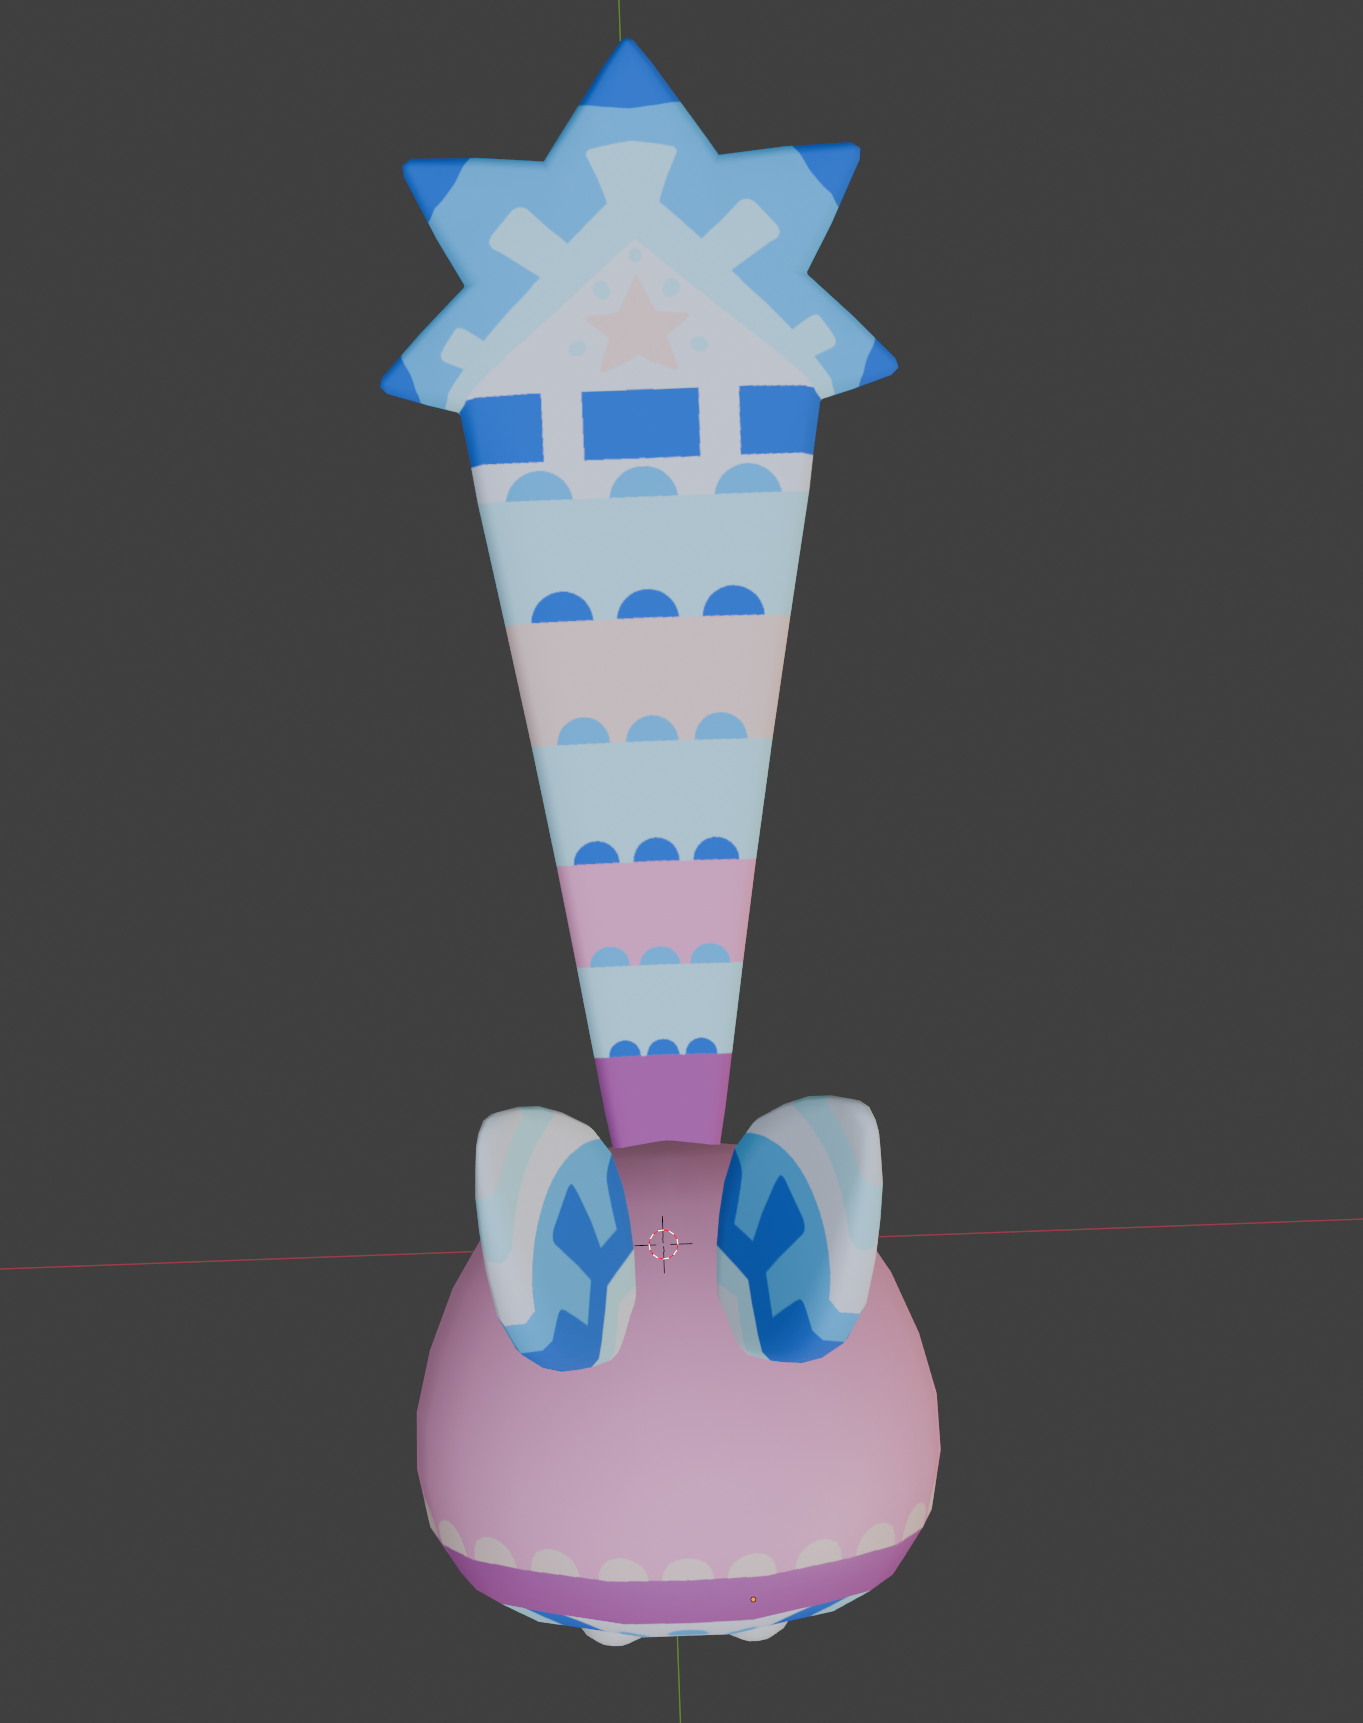
For wildcards that replace a part that would normally be on the piñata with a new part, you model both the part that would normally be there, and the wildcard part both as a separate mesh. We will look at an example of this type of wildcard on the Chirpix in the images below. On the left we see the Chirpix's body with no tail mesh visible, then in the centre we see the Chirpix's body with the normal tail mesh visible, then on the right we see the Chirpix with the wildcard tail mesh visible.

Adding Universal Eyelids (If Applicable)
1 - Download the Universal Eyelid Blend File
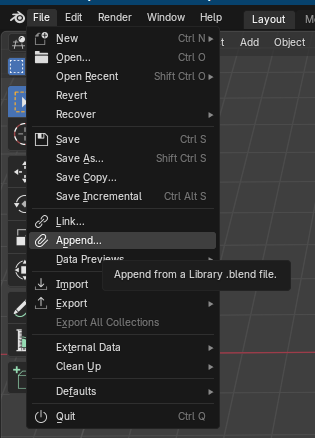
2 - Inside the Blend file of the piñata click File > Append and select the Universal Eyelid Blend File
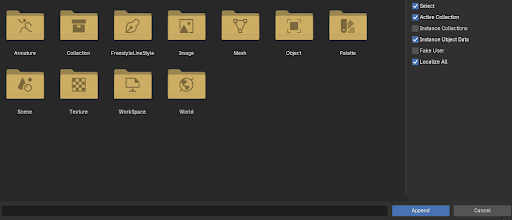
3 - You will now see this selection screen, select only "Collection" then click append.
4 - The eyelid should now have appeared in your scene. In object mode move, and scale the eyelid to one of the piñata's eye-sockets. Make sure the crease in the eyelid is horizontal.
5 - Press Ctrl + A select "Location", this resets the origin point of the eyelid to the world origin.
6 - Select the eyelid and press Shift + D to duplicate it, click immediately to avoid moving the eyelid. Then in the view-port options with the duplicated eye still selected click Object > Mirror >then either X Global or Y Global depending on which way your model is facing.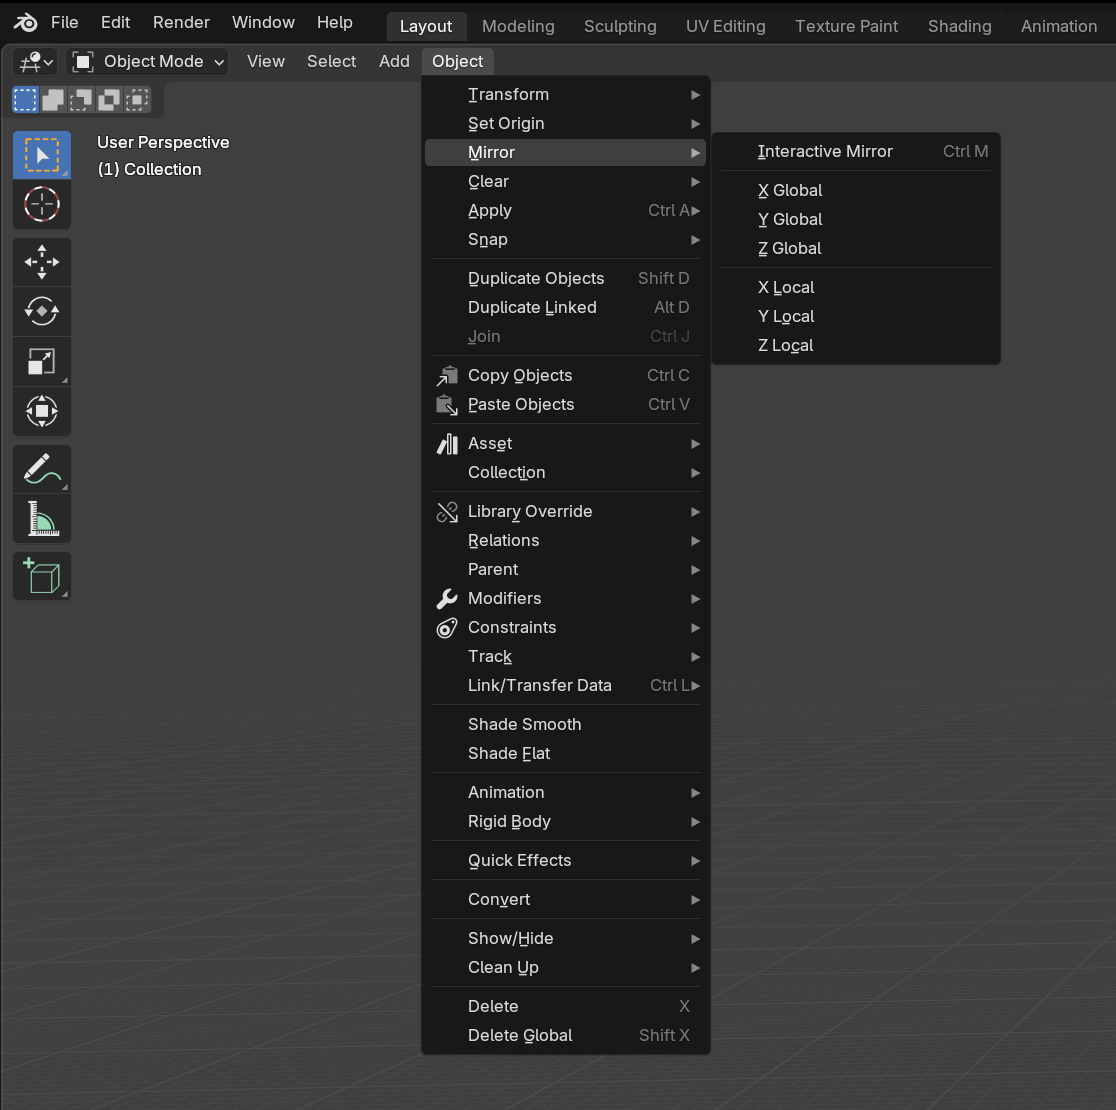
7 - Join both eyelids to the piñata's body mesh (Ctrl + J)
8 - Now test the shapekeys to ensure they work correctly
Troubleshooting the Universal Eyelid
If the eyelid clips into the eyeball, either; scale the eyelid on its Z axis in Normal location mode, or manually edit the shape key that is clipping so that it goes over the eyeball.
The driver bones of the eyelid are set to be neutral at 0 on the Z axis, if the shape keys look all crazy, chances are the bones don’t think they’re (or aren’t) on 0 of the Z axis. Manually resetting the position of the driver bones should fix the issue. If not, contact FireRabbit.
It also may be a unit scale issue, so play with the decimals on the bone constraint menu.
No Comments