Piñatas
How to rig Piñatas for use in Return to Paradise
Pinata Rigging Guide (WIP)
In this guide, we’ll cover the parts pinata armatures need to be animation-friendly and engine-ready. We will list the necessary (and optional) parts of an armature, explain their purposes, and show you how to apply them to your rig.
THIS IS STILL A WIP, SO SOME ELEMENTS ARE EITHER INCOMPLETE OR LIABLE TO CHANGES!
We will start with setting up our objects and basic rig:
Or you can skip to the engine-specific aspects:
We’ll give you file references, since I believe this part of development is best learned hands-on. This guide attempts to explain how these rigs work, and how to make your own.
Initial rig
Model Set Up
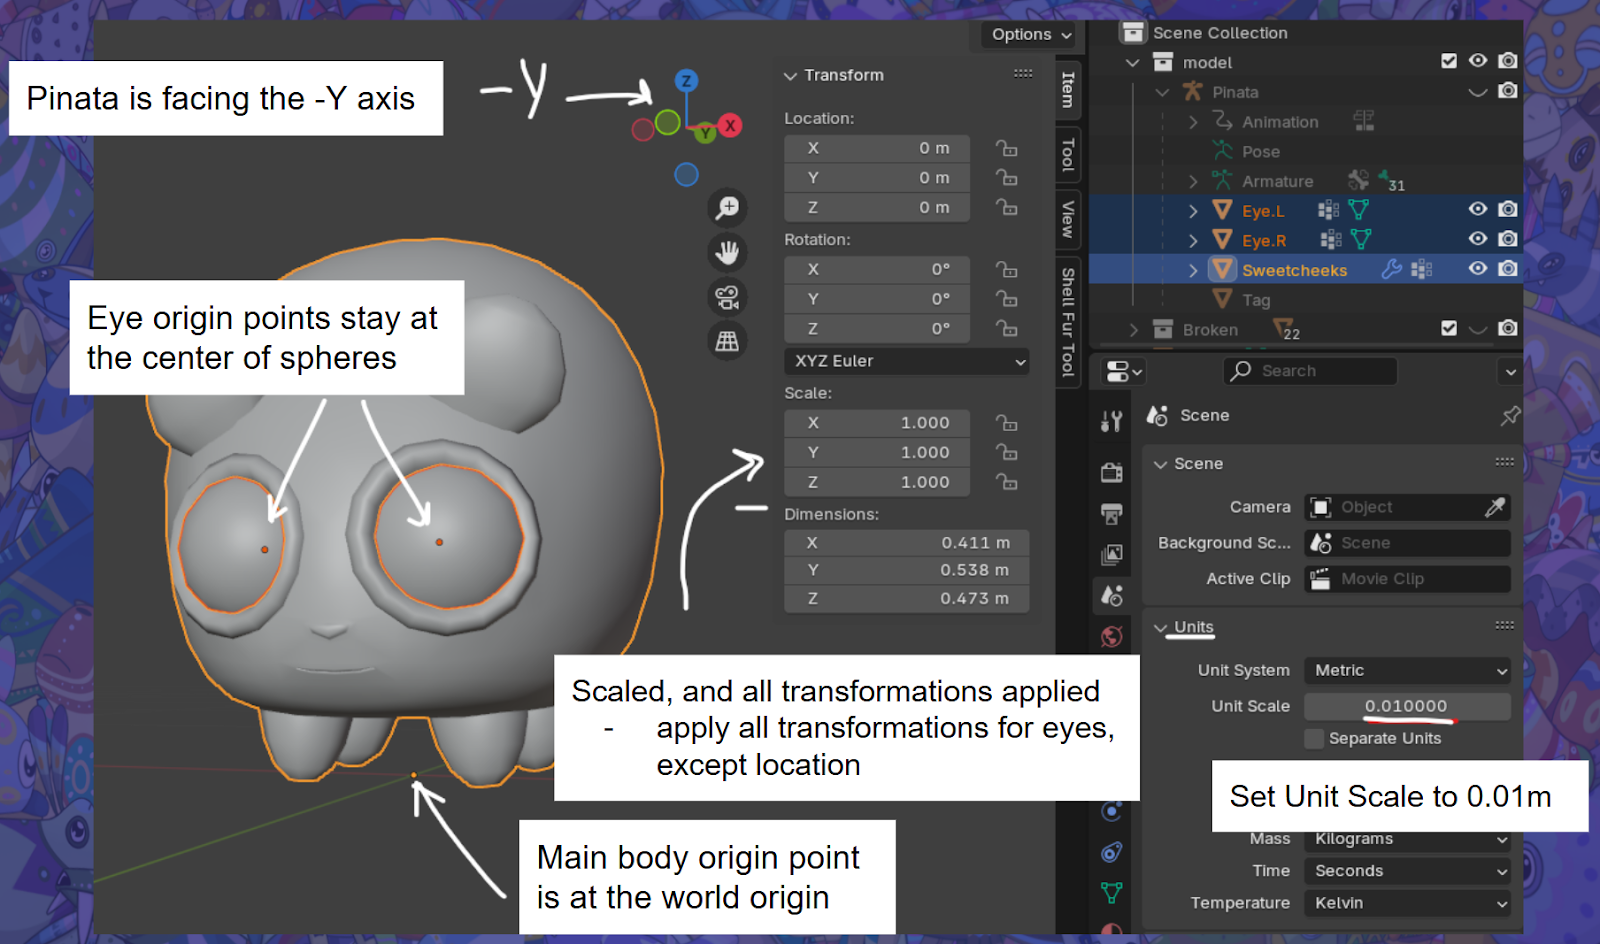
First, set your Unit Scale to 0.01m. You can find this under World Properties, Units, Unit Scale.
Orient the pinata so it stands on the world origin and faces the -Y axis.
Rescale your pinata up to the size you estimate it to be. You can ask people in #modelling for feedback on your scale, or estimate for yourself. We have scale references you can use to estimate, including our scaling model file, model scale reference image, and screenshots from Viva Pinata.
Apply all transformations for the main body object.
Only apply rotation and scale for the eyes.
The model should look like this:
Name the Objects and Bones
Rename your main body object to (pinata’s name)Mesh. Rename the eyes to Eye.L and Eye.R based on the pinata’s left and right.
Add your armature to the scene. Rename “Armature” to your pinata’s name.
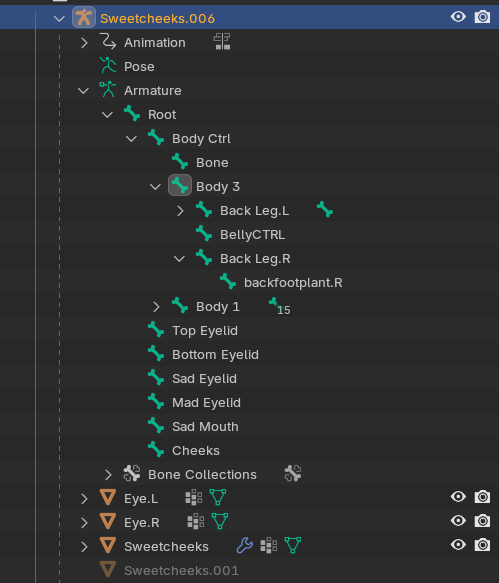
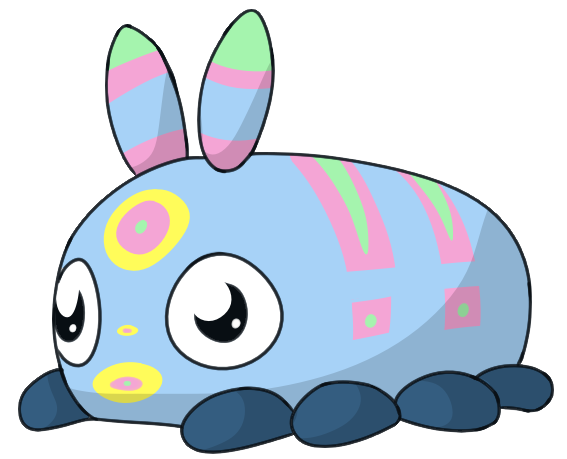
Change screenshot1 to properly named SweetcheeksMesh and Sweetcheeks
Going forward, as you add bones to your rig, name them individually based on what areas of the mesh they will influence or what their job is. This will make weight painting and animation easier, and it is essential for referencing bones in-engine.
We will show you what to name these bones..
Basic Body Rig
The rig for the main body can vary widely, depending on how the pinata will move.
A common way to start is to move your first bone to where the hips would be, then extrude until you create the head and tail bone. Make sure the bones reach the edges of the mesh.


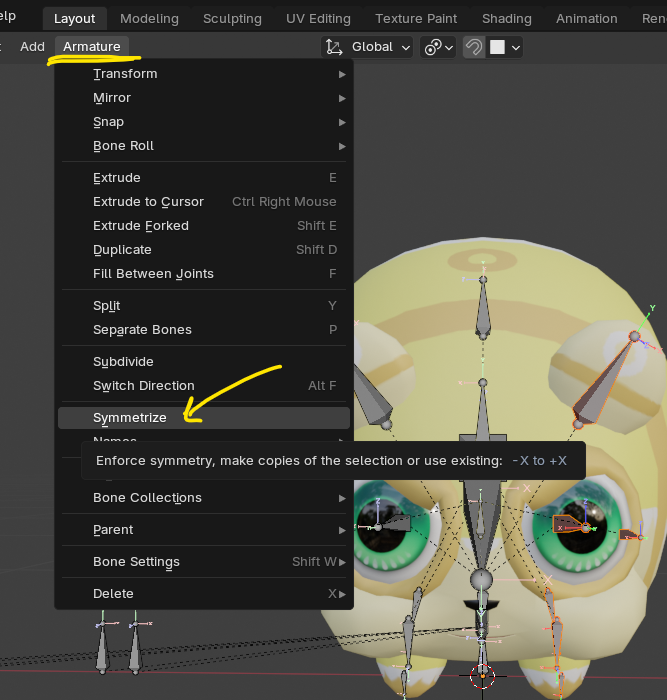
Symmetrical Bones
When you start making symmetrical bones such as the eyes and legs, tag them with a .L and .R based on the pinata’s right and left.
Start with one side. You are able to mirror these bones across the X axis. This does a lot of work for you.
In this example, the .L bones are selected.
Optional Extra Bones
You can add any extra bones if you think they’d be useful for animation.
Ideas:
-
breathing bone
-
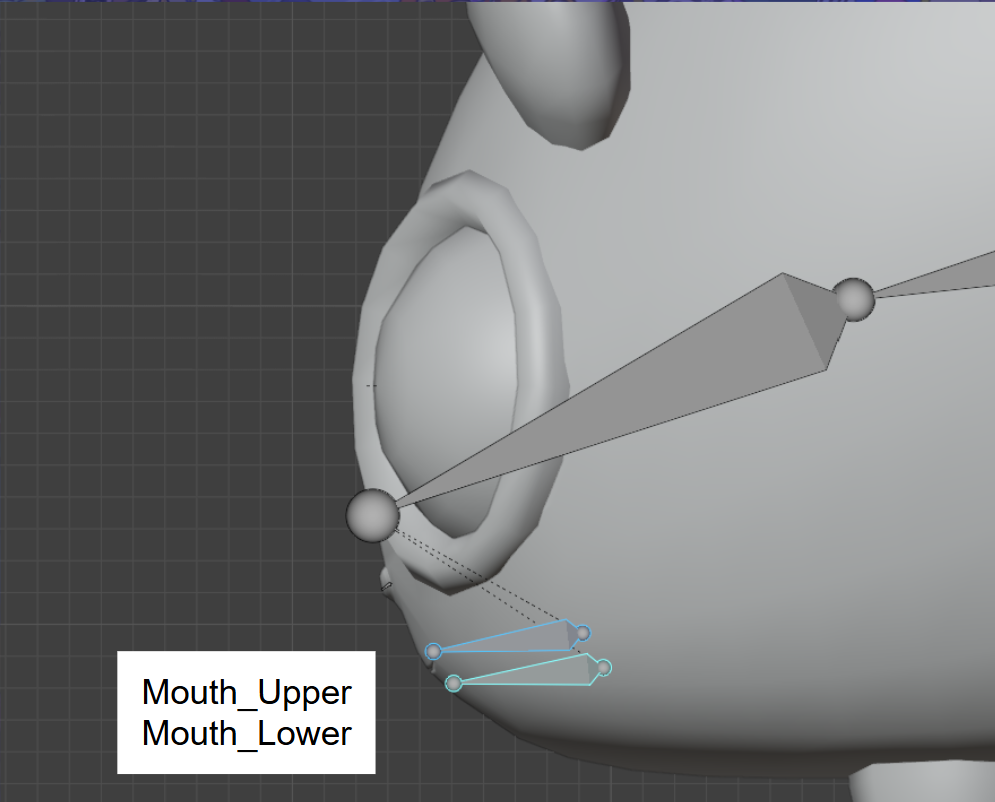
mouth/tongue bones
-
bone constraints, including IKs
-
IKs will add an extra step to the exporting process as leaving them on will mess with bone hierarchy in UE
Etcetera. Have fun!
Bone constraints
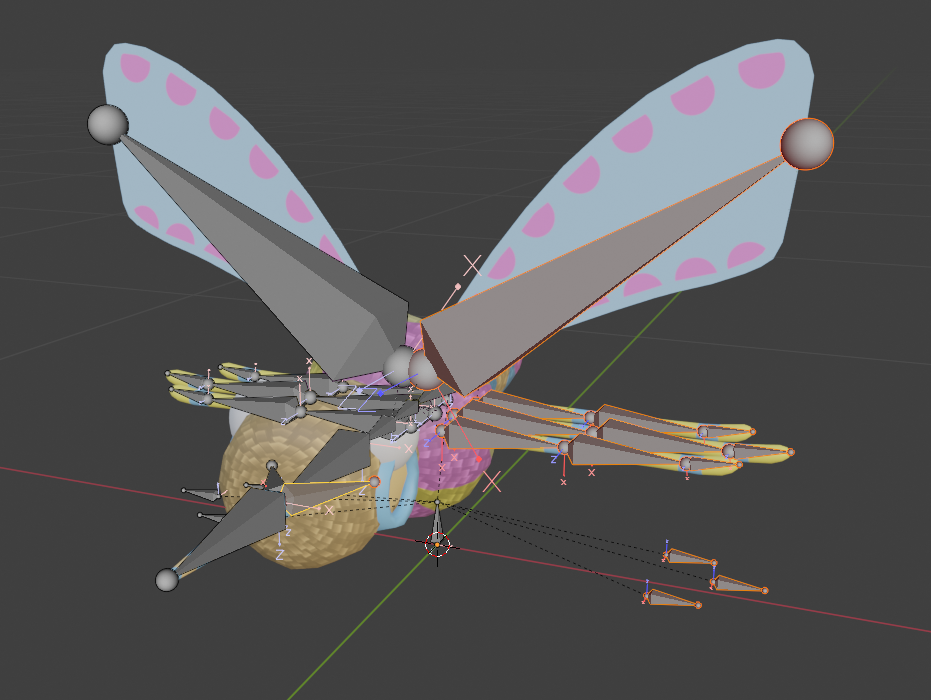
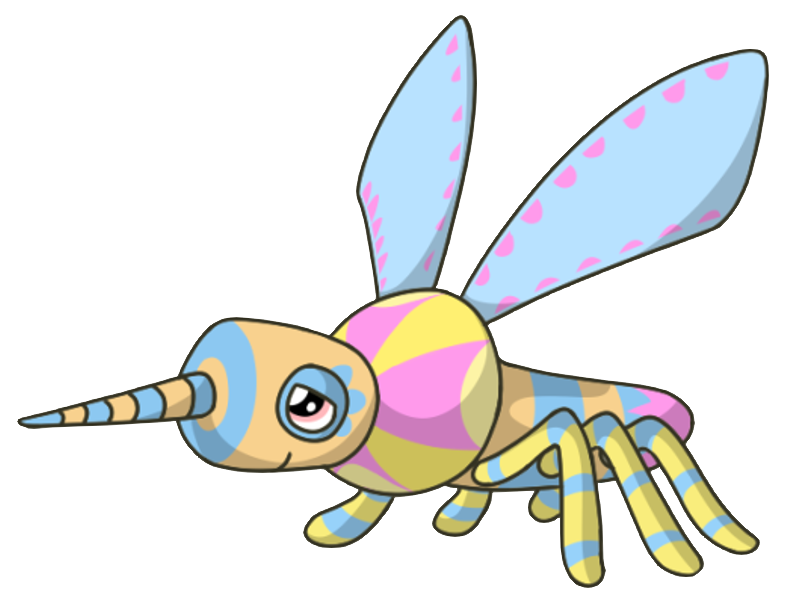
Adding bone constraints can make animation easier especially for a pinata with a complicated rig, such as the mosquitoast
IKs are a way to ..
Tutorial for setting up IK bones
Engine Bones
Congratulations! Now you have your main body rig setup. Let’s cover the remaining bones.
Root bone and Body Control Bone
[explanation here]
Tag bone
The tag bone tells the engine where to put the pinata’s tag. Make sure to uncheck the “Deform” option so that it doesn’t affect weight painting.
Name it “Tag” or something similar.
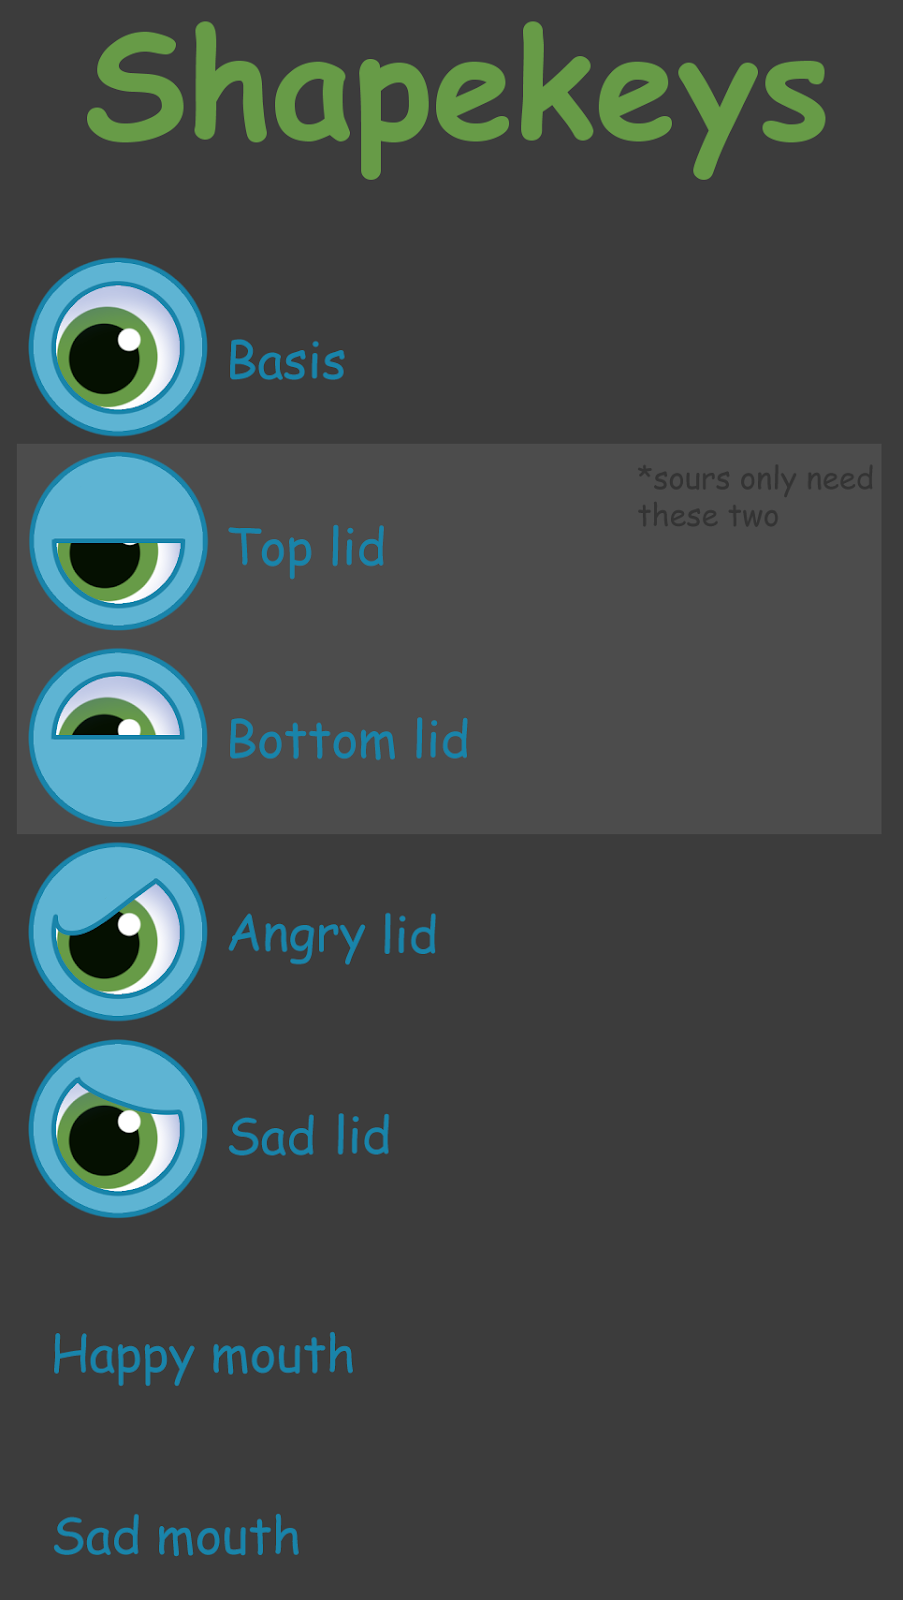
Shapekey driver bones
Shapekey animations won’t export to Unreal Engine, so we use a workaround with shapekey driver bones. They control drivers assigned to the shapekeys.
How to set up shapekey drivers
Here is a list of the mandatory shapekeys that you will need to make driver bones for:
In order to make a driver bone, do the following:
-
In Edit Mode of the armature, create a child bone for each shape key the pinata has.
-
Name it the name of the shape key it will affect and disable deform.
-
Go to object mode of the mesh and select its data (the green triangle)
-
Select a shape key and right click the value box. Select “Add Driver”
-
Set the expression as: var/100. This won’t work properly if you didn’t set your scene units properly earlier.
-
Ignore the (x) area; you don’t need to adjust that part.
-
Set the object to be the armature, then set the bone to the matching name
-
For type and space, set it to Z location world space (moving it 1 unit should cover the full shape key range)
-
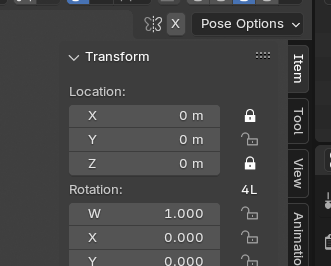
In pose mode, lock the X and Z location values
-
Repeat for the rest of the shape keys and their proper bones
-
Go to armature pose mode. For each of the driver bones, add a “Limit Location” bone constraint
-
Enable the Z axis minimum and maximum. Minimum is 0 and Maximum is 1. Be sure that the owner is set to World Space.
-
Move the driver bones on the world Z axis. If your shape keys work as intended, then move on to animation
Eye control rig tutorial
Eye bones will be controlled in the engine to an extent; however, animations can have custom eye movements!
Eye rigs are based on this tutorial.
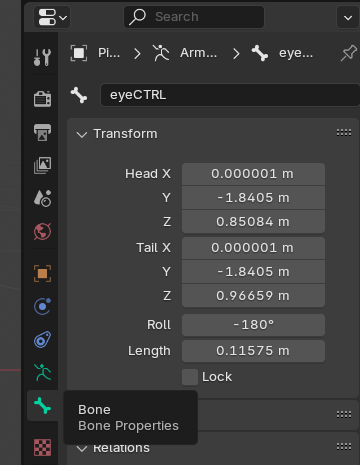
Centered Eye Bones
In edit mode, set the base of the eye bones to the eye object’s origin.
This will allow the eye to rotate perfectly.
File references
Baguette has all bones
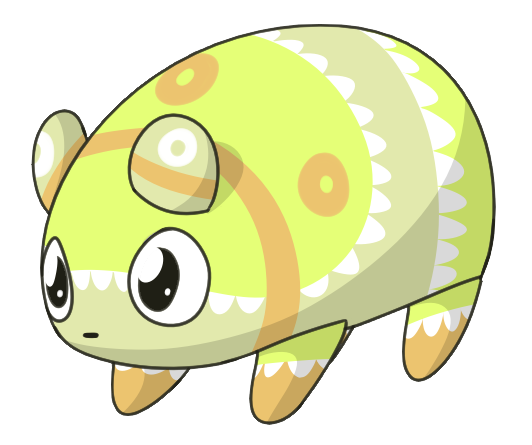
Glowmyworm has all bones
Sweetcheeks has everything except the tag bone
Sweet Mosquitoast has a complicated legs and an IK setup

Conclusion
Ya matha.